3D Printing is the process of constructing a physical object from a digital 3D model, where the object is built by laying down the raw material layer by layer. This adding up of layers gives 3D printing its alternative name – additive manufacturing. The technology has penetrated widely across different sectors including manufacturing, construction, healthcare, art, heritage restoration, etc. 3D printing service is available at i-Space and below are some resources for you to know the basic workflow of 3D printing.
| Equipment | Details | Location |
|
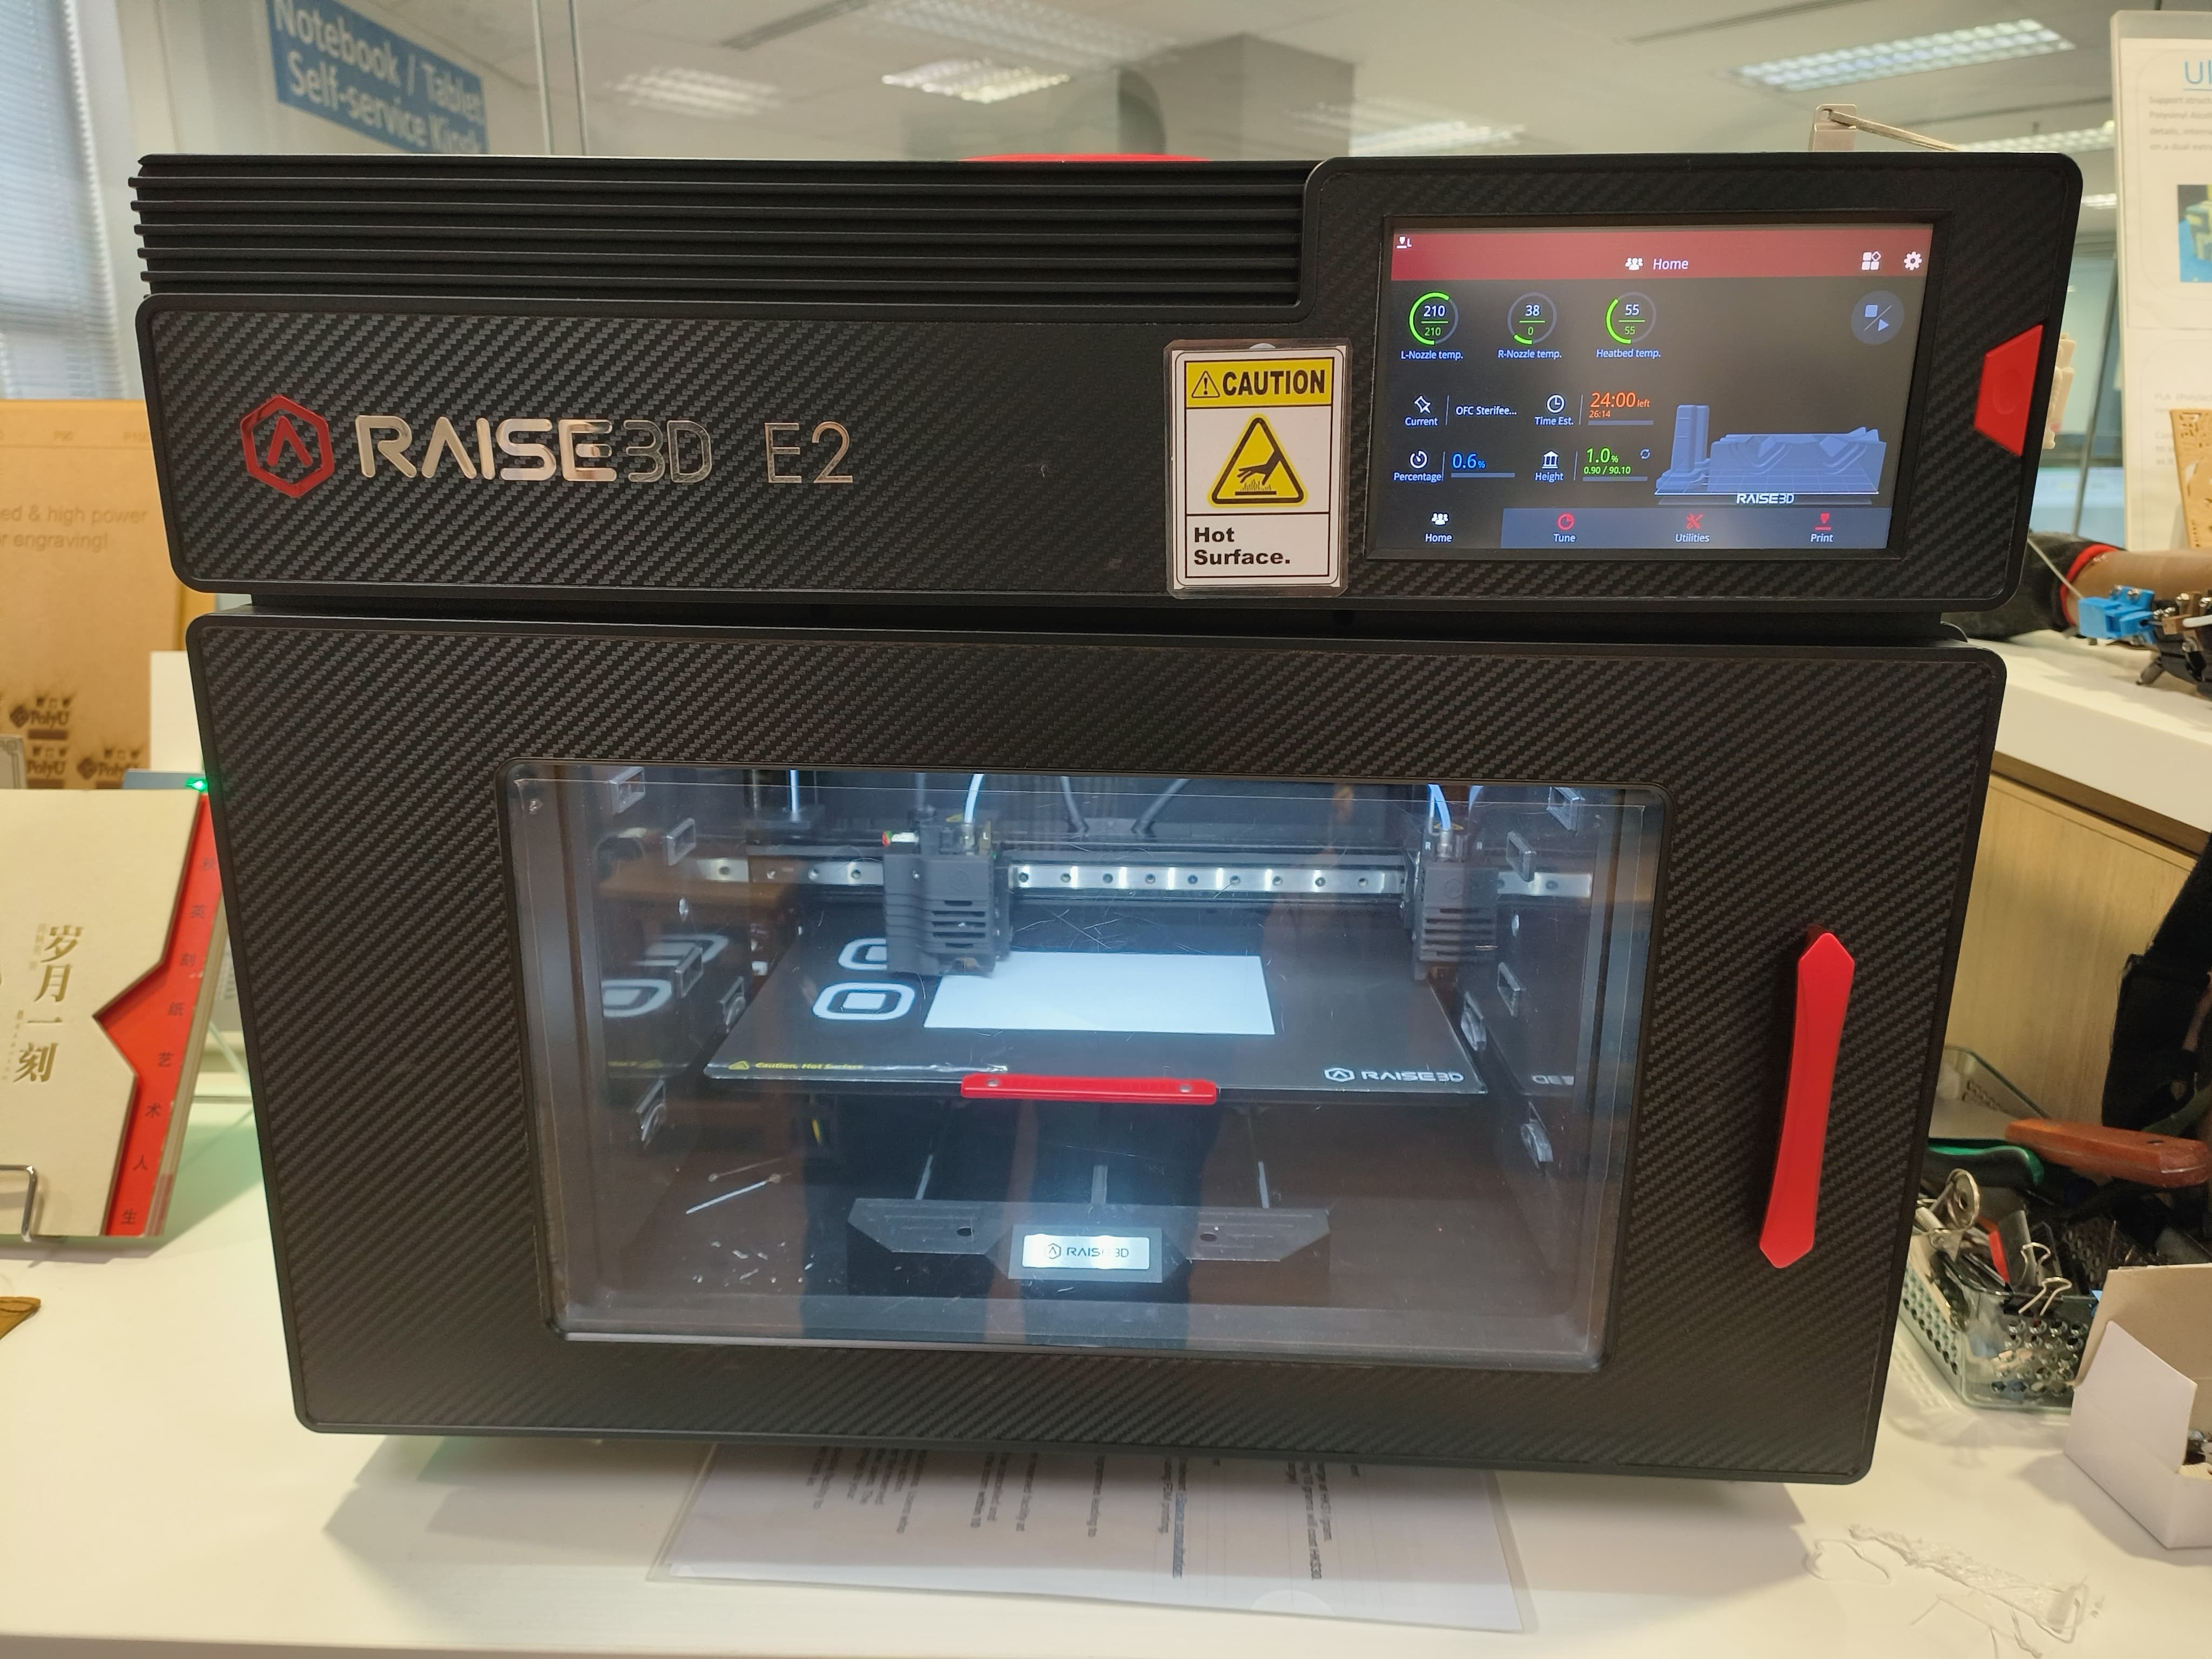
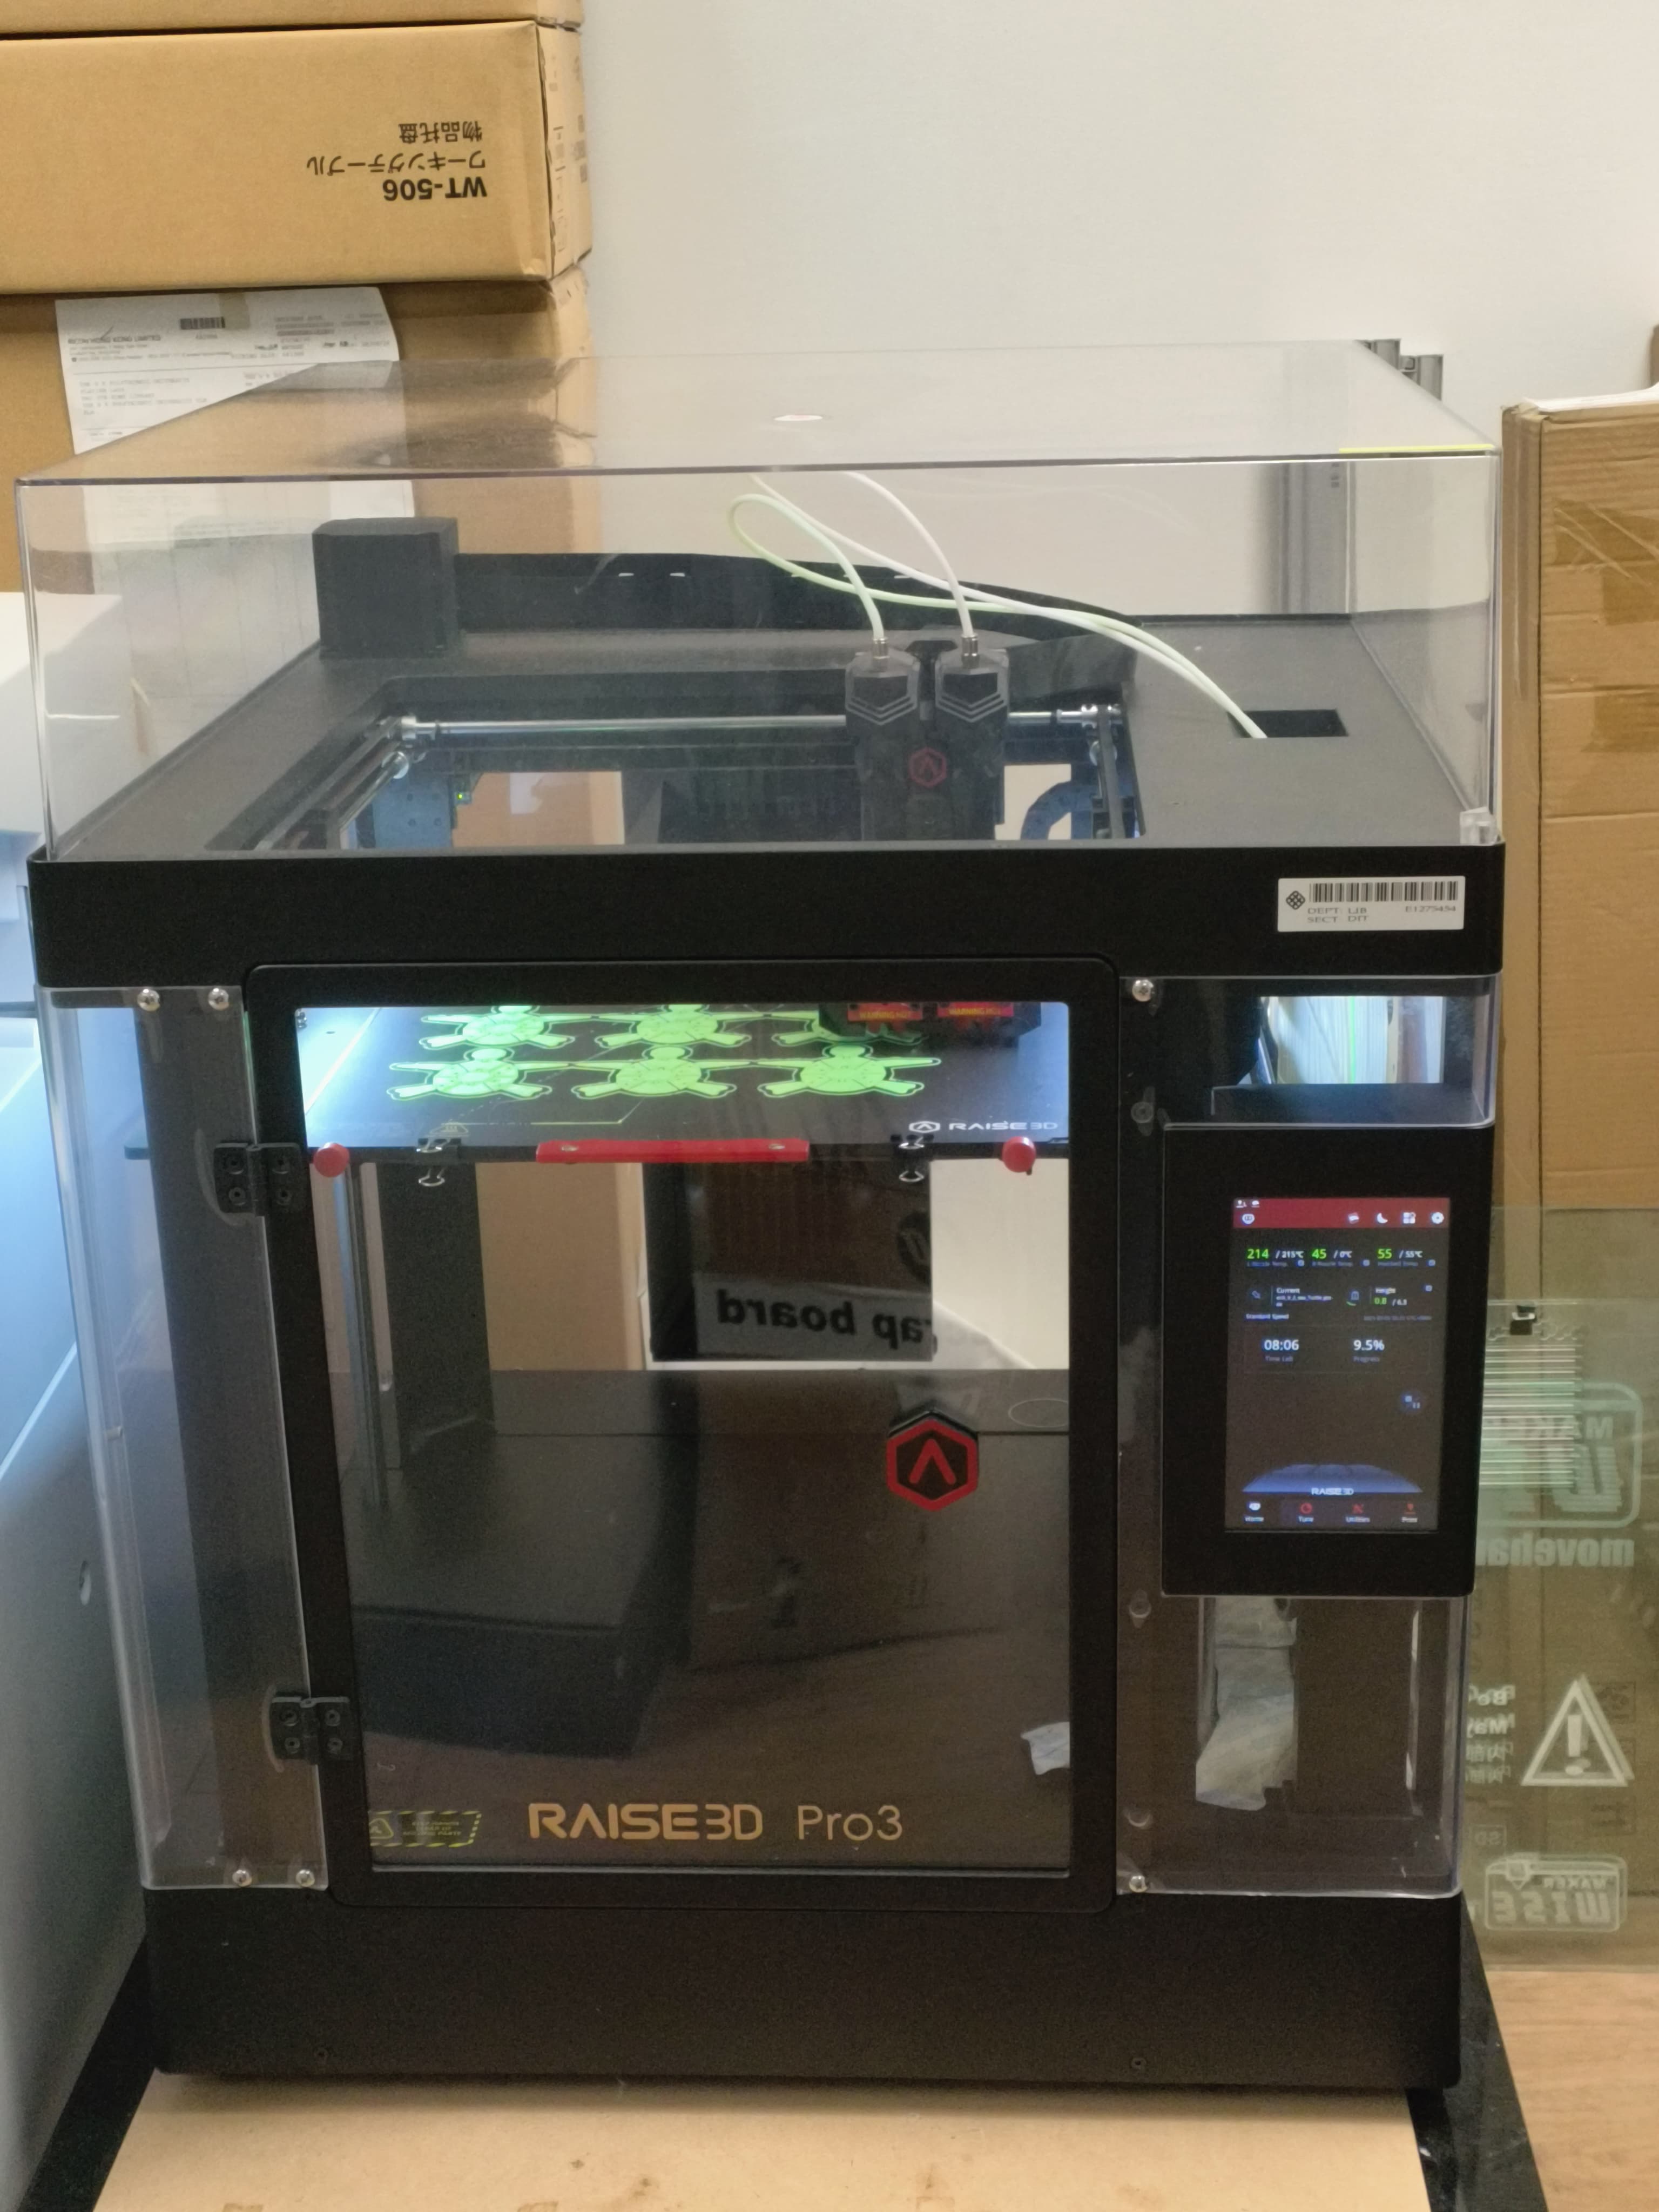
iBooking 3D Printer Raise3D Pro3 |
Fused Filament Fabrication (FFF) 3D Printer
|
Digital Makerspace,
Base charge HK$20 plus material charge at HK$1/gram. |
| Walk-in self-service Colour 3D Printer Bambu Lab X1E 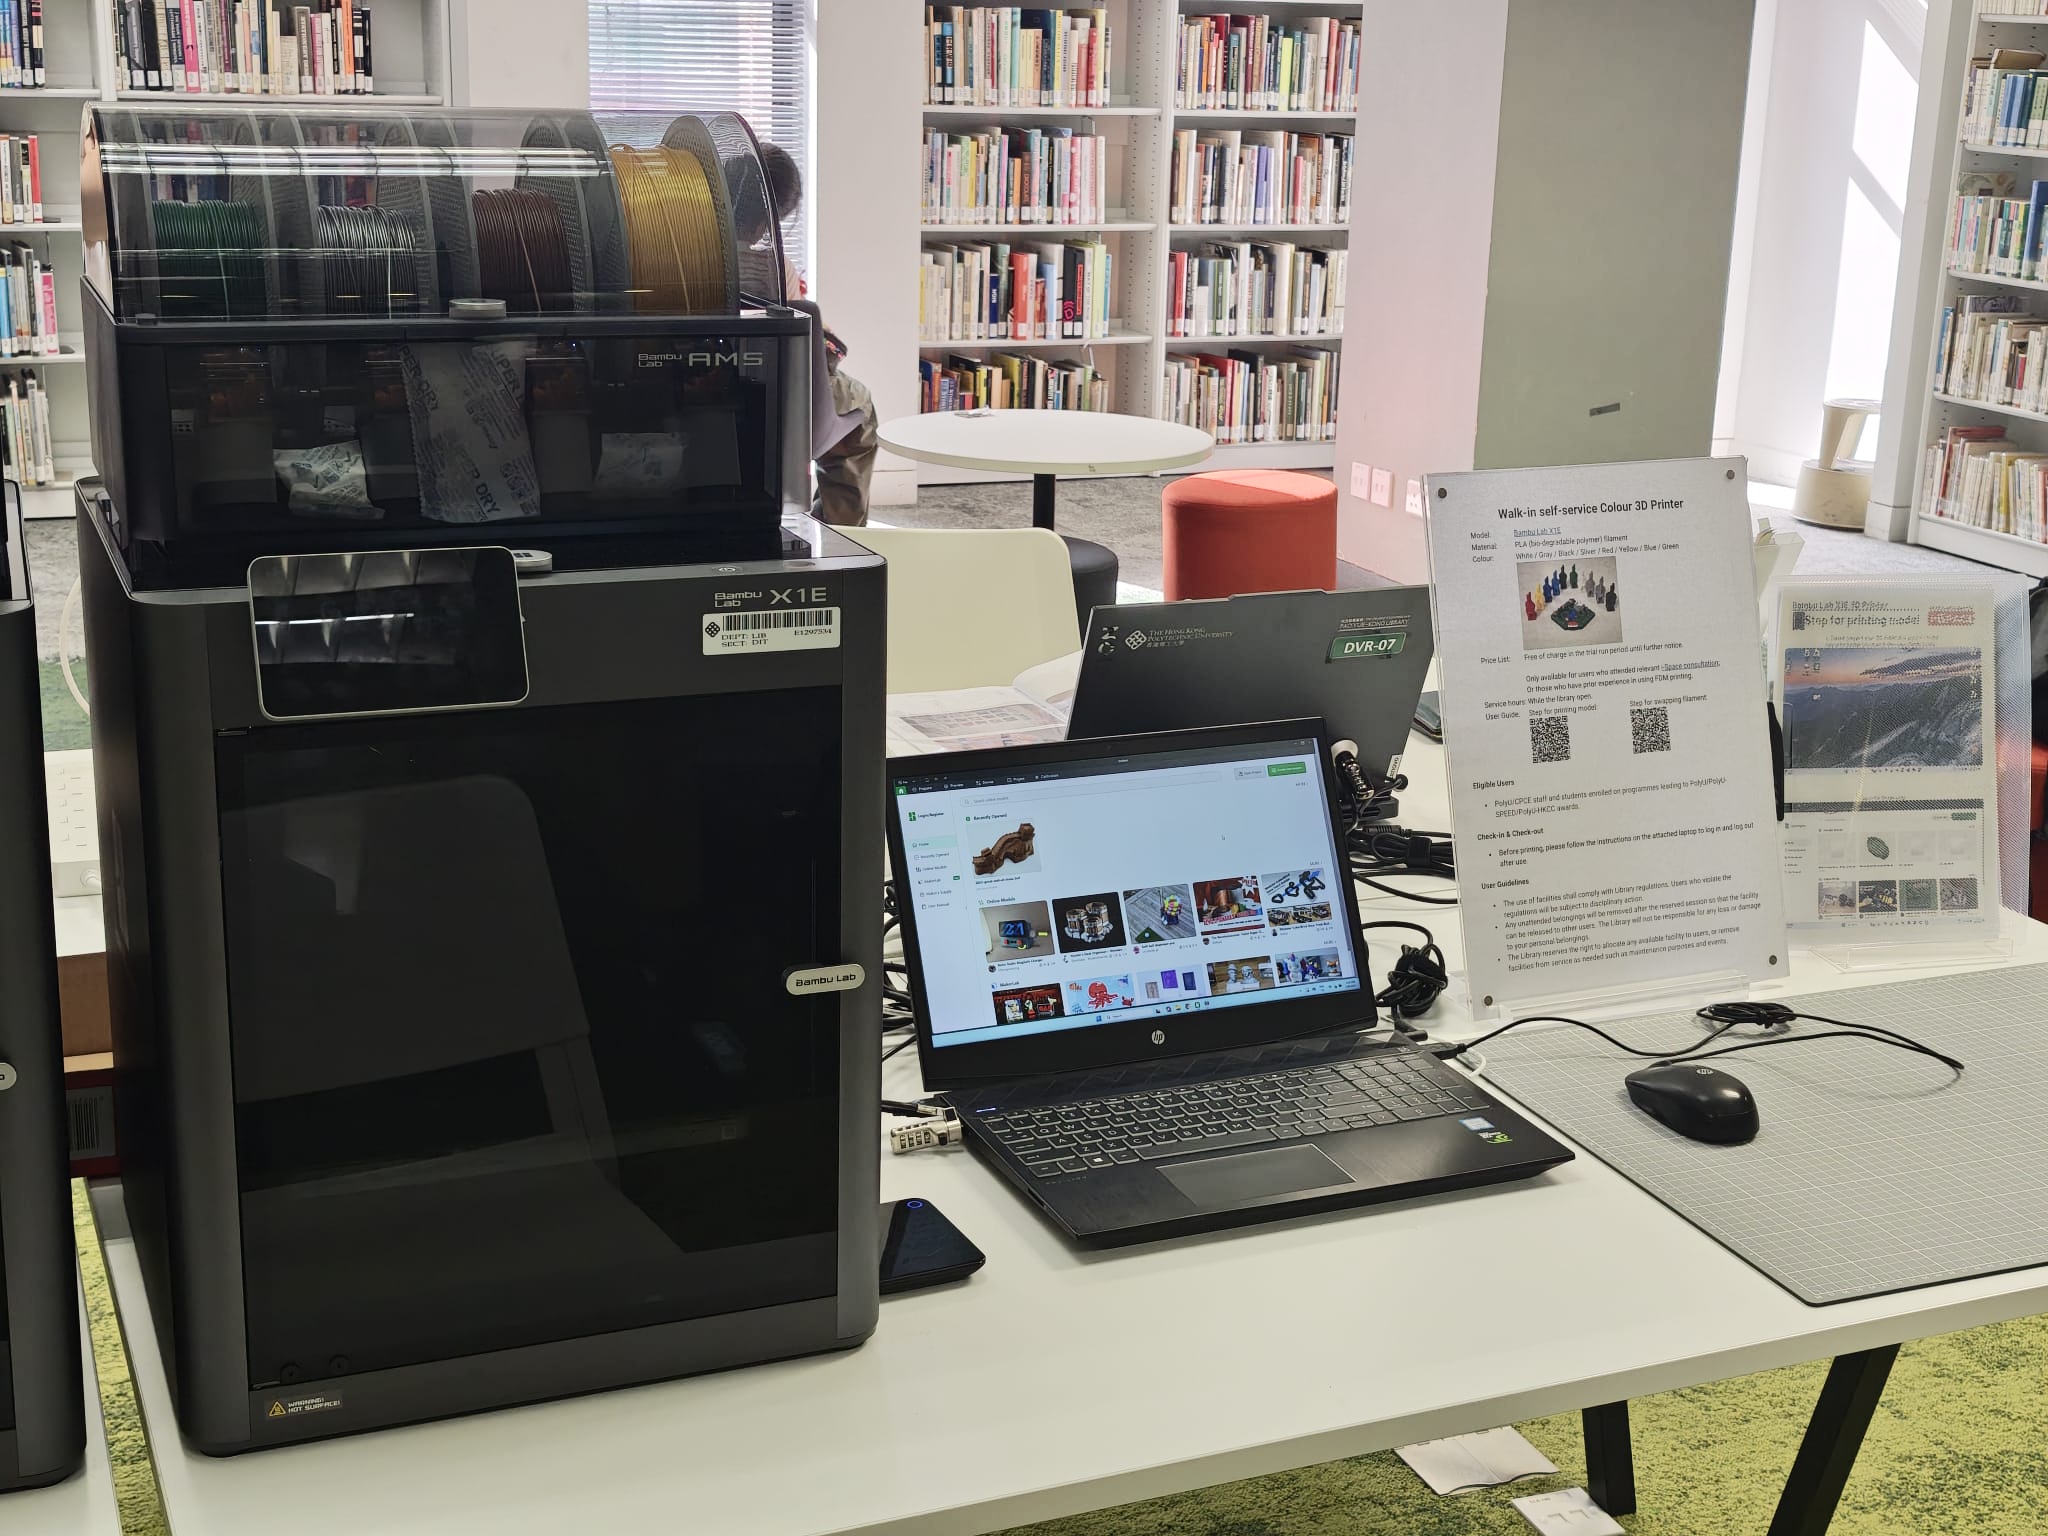 Service Hours: aligned with the library's opening hours, with no overnight printing permitted. |
User-friendly Colour 3D Printer with Automatic Material System (AMS)
|
Digital Makerspace Plus, Only available for users who attended relevant i-Space consultation; Or those who have prior experience in using FDM printing. Before printing, please follow the instructions on the attached laptop to log in and log out after use. |
• Create a 3D model
To begin, you need to have a 3D model first. You can either create one with 3D modeling software or 3D scanning tools. The following 3D modeling software is available at i-Space.
 |
 |
 |
| SketchUp Pro | Blender | 3ds Max |
There are also some free tools to create 3D models, such as SketchUp FREE, Tinkercad and Fusion 360. If you don't know how to create your own model, you may download one from free 3D model repositories such as Thingiverse and Grabcad Library. Most of their models are 3D printing ready and are provided under Creative Commons licenses or royalty-free license.
• Check & repair mesh errors on the model
For successful 3D printing, your model must be free from mesh errors like holes between meshes, intersecting / disconnected meshes, meshes with flipped normal, etc. These errors will give you unexpected printing result or the model cannot be printed at all. You can use the following free software to check & repair mesh errors.
 |
 |
 |
 |
| Microsoft 3D Tools | Microsoft 3D Builder | MeshLab | Autodesk Meshmixer |
Apart from fixing errors, these tools also help to optimise your model by:
• 3D printing
Next, you can import the error-free model into a slicer software* to generate printing instructions for a 3D printer. The instructions typically include printing speed, layer height, parameters for support structure & infill pattern. The instructions are then sent to the 3D printer to print the object layer by layer.
(* Most 3D printers come along with their own slicing software.)
• Post-processing
Most 3D printed objects require some sort of post-processing, at least, removing support structures. Depending on what type of 3D printer you used and your requirements on the surface quality, other post-processing may include:

E-Book, 2024
E-Book, 2023
E-Book, 2023
E-Book, 2023
E-Book, 2023
Modeling:
Model Checking & Repairing:
Post-processing: